The Warehouses section allows you to create and view the available Warehouses in your Virtual Ops system. This particular section of the system only deals with creating and editing warehouses. Generally this section will only be addressed during the initial system setup or in the event you are adding another warehouse. After creating a warehouse, in this section, you will then need to create the storage racking system to apply locations for your items.
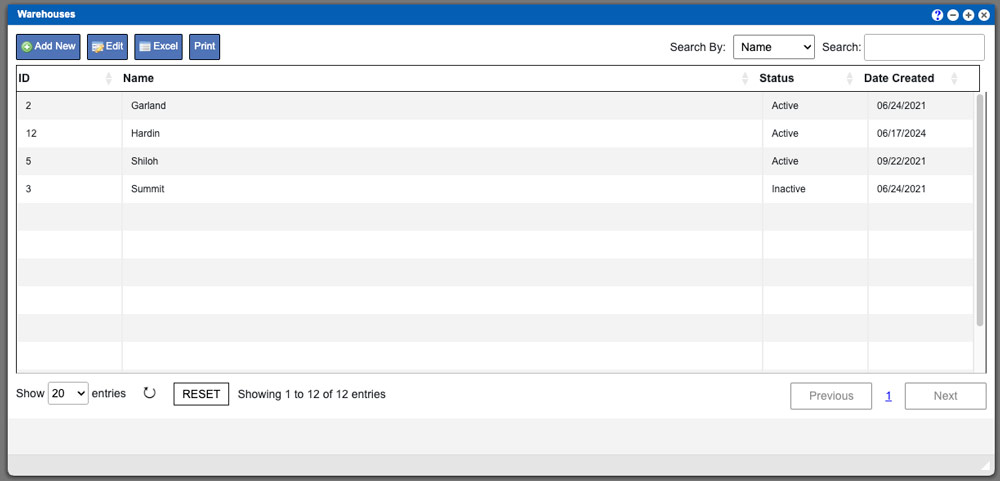
Upon entering this section you are faced with a grid. The grid displayed will list all warehouses currently available in the system. These entries can be sorted by clicking the column titles, using the search function or filtering by additional options. For more information on Grid Sorting click here.
Virtual Ops System Location/Navigation:
Administration> Configuration > Warehouses
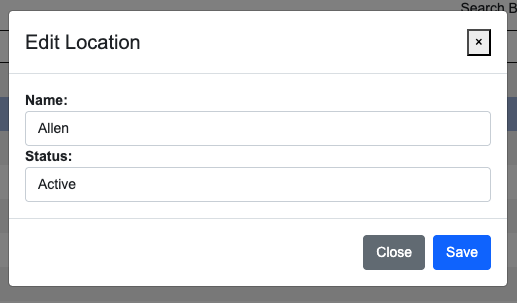
To create a new warehouse select the “Add New” action button at the top of the grid. Enter your naming convention into name input field and then click the “Add” button at the bottom to complete the process. Once an entry is created it cannot be deleted. It can however be set to inactive. To do this you will need to select the entries row from the grid by clicking it, then click the “Edit” action button above the grid. In the next window you can then set the status to inactive. See example image below – click to enlarge.
Grid Action Buttons
Add new – Select this action to add a entry to the system.
Edit – Select a row/entry on the grid and then select the Edit button.
Column Visibility – By selecting this option you can change the visible columns per the grid you are on. These selections are saved per user/browser per grid.
Excel – Selecting this action will export the currently displayed grid data to excel.
Related Help Pages
Please view our Storage Racks help page if you are looking to set up a new warehouse and need to designate the racking system.
If you are looking to find and manage the locations (within a warehouse) where your items are stored; please view our Storage Locations help page.
