**Page content under construction for new release changes**
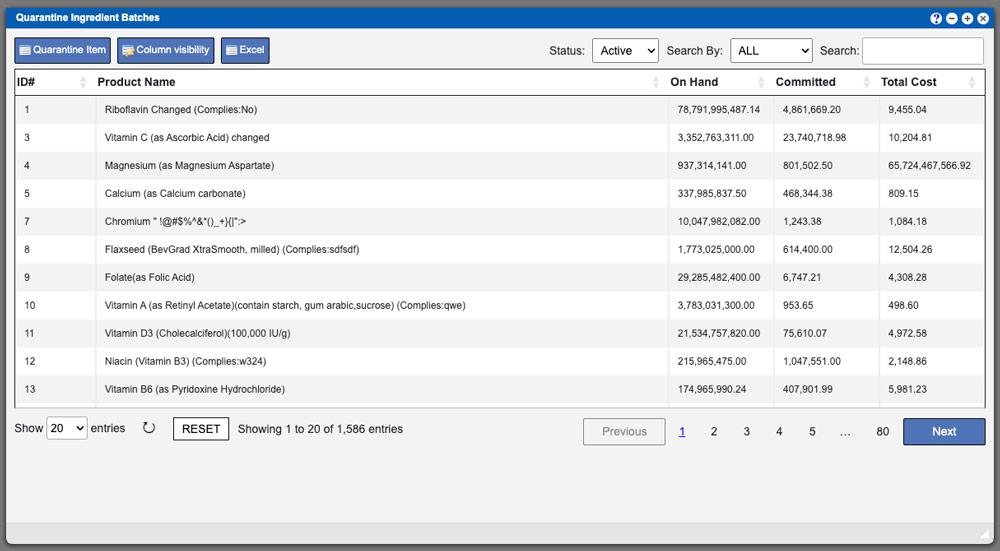
The Quarantine Inventory grid will provide a list of entries, per the selected component, that can be selected for quarantine . These entries can be sorted by clicking the column titles, using the search function or filtering by additional options. For more information on Grid Sorting click here. Once you have found the ingredient you want to quarantine, select it, or multiple rows, then click the Quarantine Item action button at the top of the window to open the Quarantine New Batch screen. See example image below.
Virtual Office System Location/Navigation:
Inventory > Quarantine Inventory > Select available component from dropdown
Grid Action Buttons
Quarantine Item –
Column Visibility – By selecting this option you can change the visible columns per the grid you are on. These selections are saved per user/browser per grid.
Excel – Selecting this action will export the currently displayed grid data to excel.
In the nutraceutical or pharmaceutical industries, manufacturers are required to quarantine ingredients and containers for testing prior to being introduced into new products. Not only does the quarantine process help limit contamination, but it also ensures consistent quality is achieved among the ingredients/components used in production. To help achieve this efficiently, the Quarantine Inventory window allows you to quickly create batches of new components and containers that may be being received by your facilities.
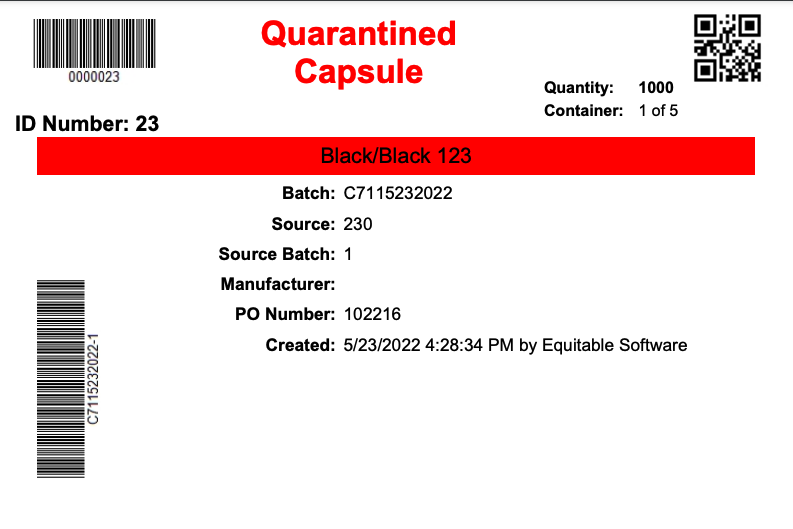
From the components Quarantine Inventory window, you will see a variety of fields that can be modified to match the component or container that is being quarantined. Any required items are denoted with the * symbol. Once these required fields have been completed and your containers have been added, click the green “Receive Inventory” button at the top of the window to complete your new quarantined inventory entry. The system will generate batch stickers to be placed on each container to label and track the containers. The batch stickers generated by the system are customized per client and are available in 8” x 11” and 4” x 6” formats. See example batch sticker below.

Attach any needed files first. Then enter your account received, container count and the amount per container and click the “Add Containers” button. At this point you now remove or edit the containers from the Containers list created. You can add additional containers to the list by using the same process – remove the values from the input boxes, re-enter your information as needed


