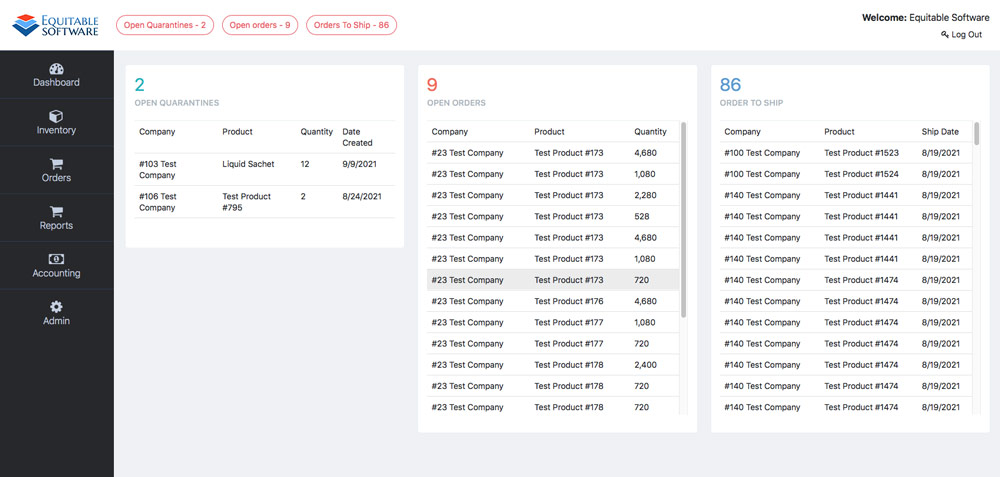
The Fulfillment Dashboard contains several useful information metrics and links. You can inspect the individual lists of your open quarantines, open orders and orders to ship in the dashboard area. You can further investigate into any of these sections by clicking the pill buttons located at top of the screen in-between the logo and logout menu items. These items are global and can be accessed from most pages on the website. I will explain each of these sections in more detail below. Once you are on any of these pages finding the item is the first step. If you are not aware of all functionality with the grids (sorting/exporting/nesting) or interested to learn more. Please view this page.
Open Quarantines
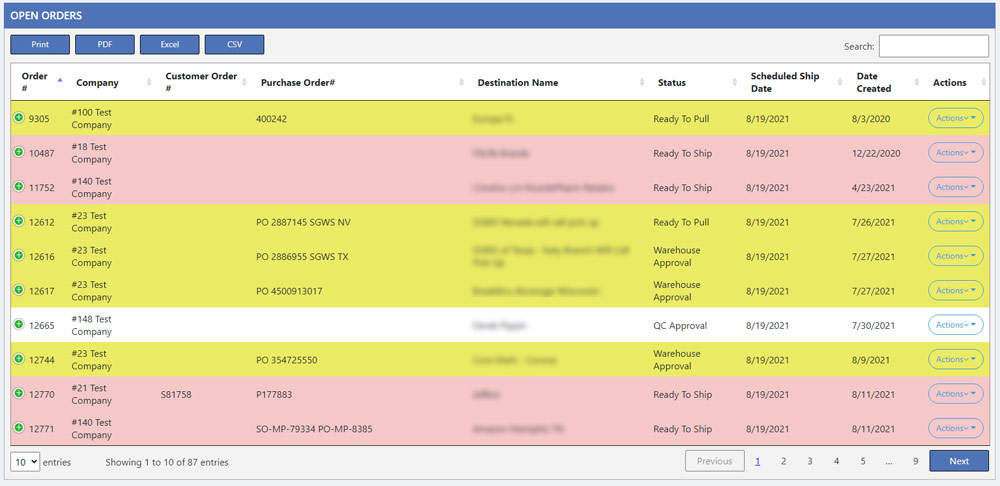
The Open Quarantines section shows all of the finished items that have been received into quarantine from a receiving method. To learn more about receiving with a scanner click here. To learn more about Inventory Receiving on the website click here. From this section you can release quarantine into active inventory.
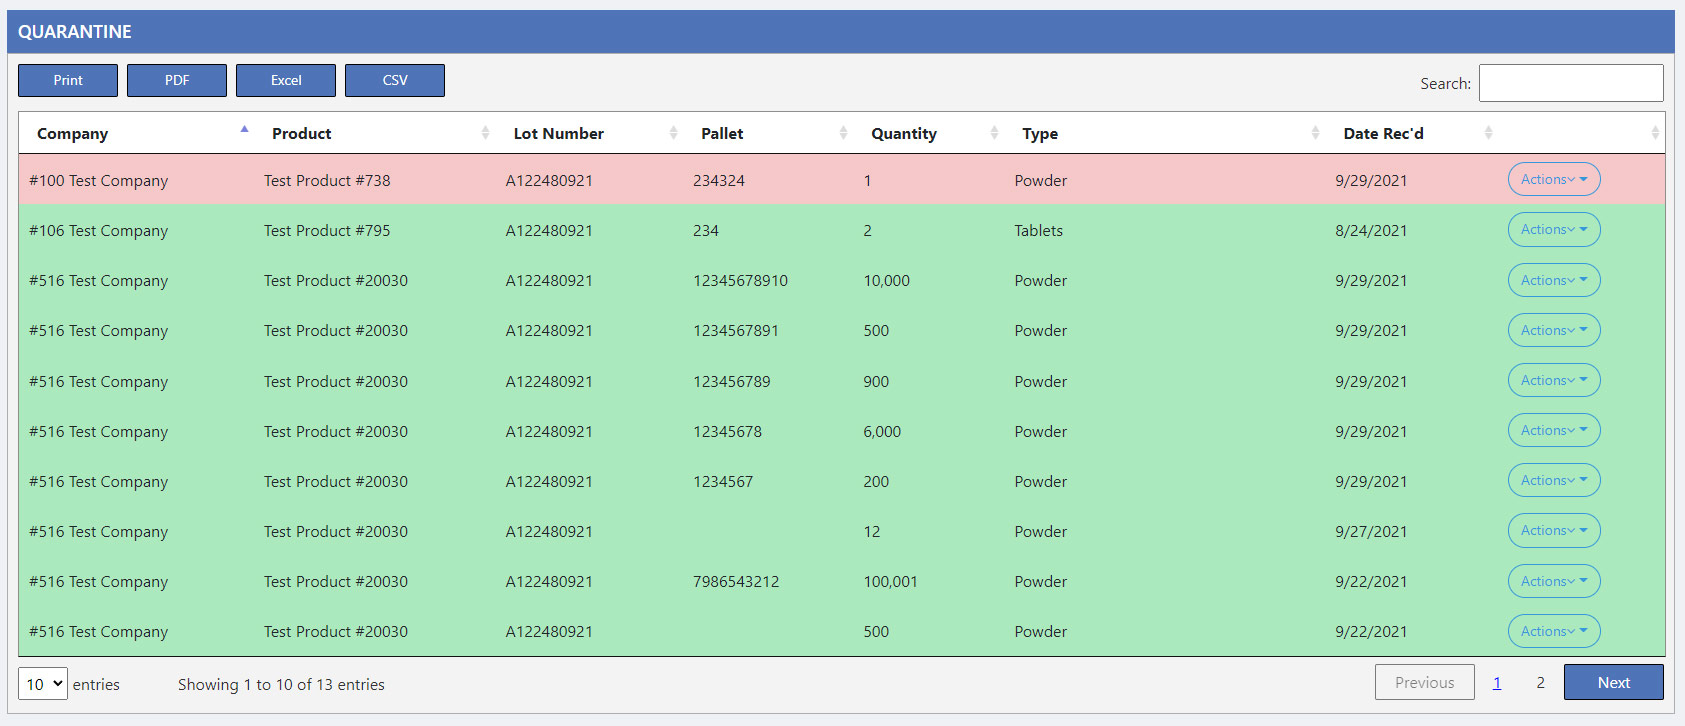
The green rows indicate there are no issues with that item. The pink rows indicate a miscount and are locked. This is caused when the amounts do not match when releasing the item with a scanner.
Example: If a scanner user releasing inventory into quarantine inputs an incorrect quantity amount two times – then the item is pink and locked.
The only way to release a locked item is to have a website user, with the correct permissions, release the inventory via the actions button and the approve option. The specific permission needed for this action is called: Release Inventory. For more info on permissions click here.
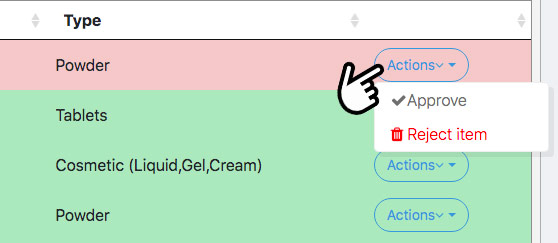
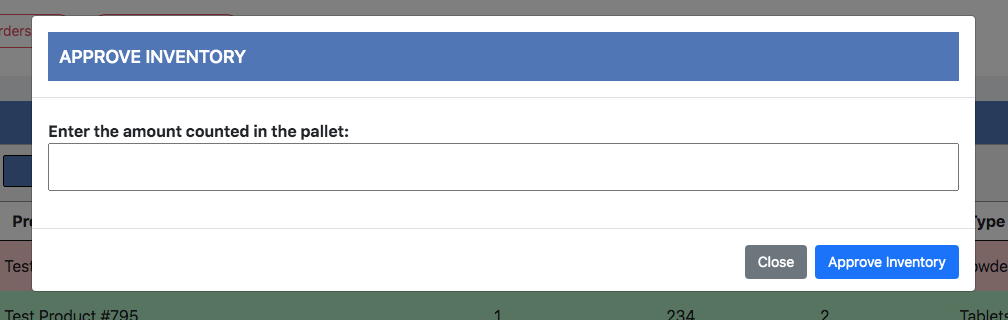
Hover the cursor over the Actions button at the end of the grid to access the Approve and Reject options. Clicking Approve will bring up a pop-up window (image below) with an input for the amount. The amount entered will be the actual released amount. Enter in the correct amount and click the Approve Inventory button at the bottom of the pop-up window.
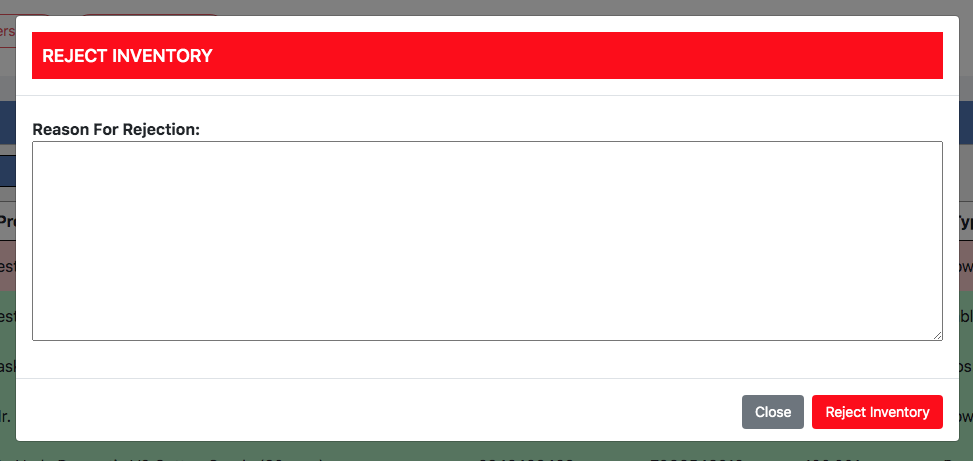
In the event you need to reject an item, simply click the Reject Item action option. This will bring up pop-up window where you will need to enter in a reason for rejection and then click the Reject Inventory button at the bottom of the pop-up window.
This section will display all orders that have not been shipped. The color of the row indicates the order status. All items coming into this section will be green.
Green Row = Shipped
Pink Row = Ready to ship
Yellow Row = Warehouse Approval, Ready to Pull
White Row = Default
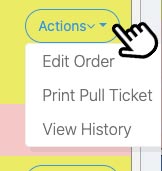 The actions dropdown will contains three items: Edit Order, Print Pull Ticket and View History.
Print Pull Ticket: This option will bring up another tab that will allow you to print a document with all of the info needed so your warehouse representatives can successfully pull the order.
Edit Order: This option will take you to the Order Details page where you can manually edit the order, if needed, before proceeding with completing the order. To learn more about editing and creating an order click here.
View History: This option will open another tab where you can view the orders Change logs and Status logs. Learn more here.
The basic grid sorting options are also available. If you are not aware of all functionality with the grids (sorting/exporting/nesting) or interested to learn. Please view this page.
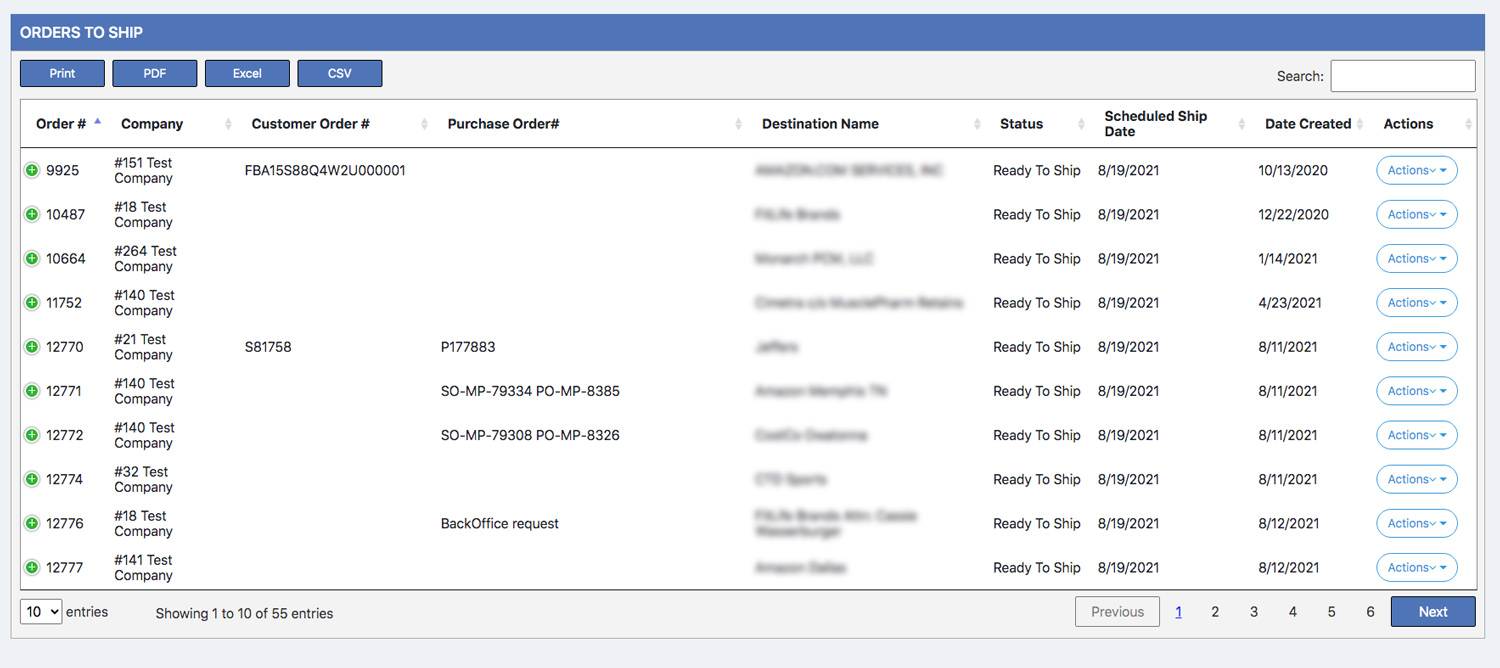
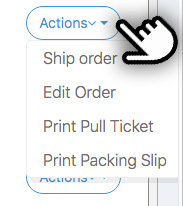 This page contains a grid with all of the orders that are in the “Ready to Ship” Status. The Actions dropdown button contains four items: Ship Order, Edit Order, Print Pull Ticket and Print Packing Slip. Please note that if a company is marked as “Credit Hold” you will not be able to ship or print any assets for the order unless it has been approved by Accounting. This option is accessible from the Admin Companies page. Click the following link for more information on Admin Companies page.
Print a Packing Slip: This option will bring up another tab with all of the info needed in order to print a packing slip for your package.
Print Pull Ticket: This option will bring up another tab that will allow you to print a document with all of the info needed so your warehouse representatives can successfully pull the order.
Edit Order: This option will take you to the Order Details page where you can manually edit the order, if needed, before proceeding with shipment. Click the following link for more information on editing or creating an order.
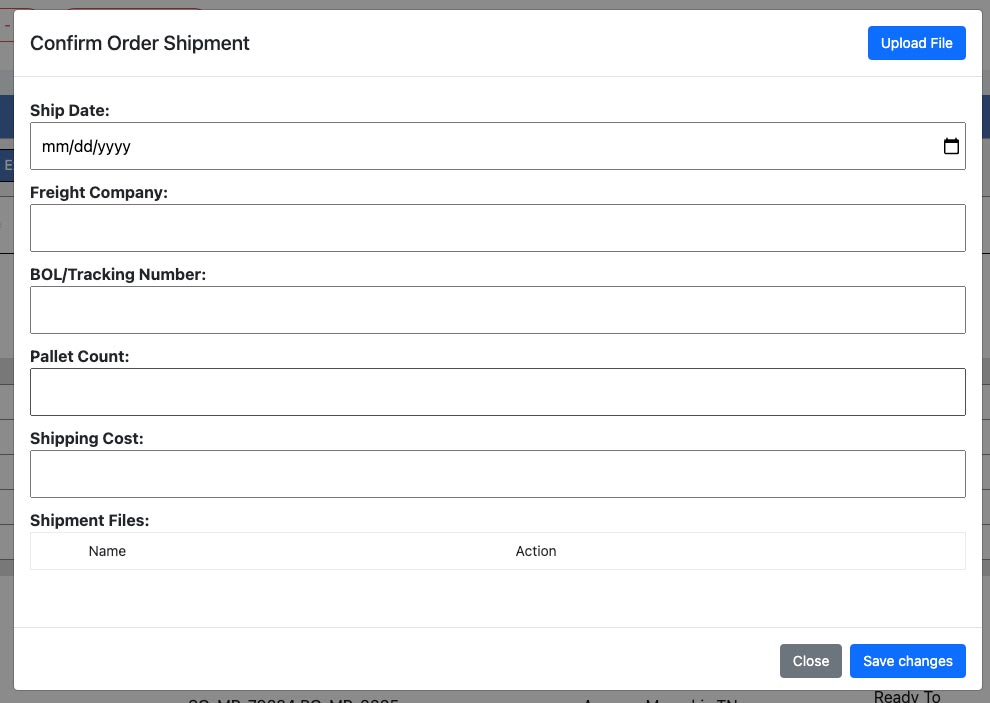
Ship Order: This option should be accomplished during or after the actual order shipment. Fill out the listed information, image below, and upload images as needed. Once this form is completed and saved the order will be marked as shipped and will be removed from the orders to ship grid.
Click the Plus Icon, at the furthest left of the grid, to view the products within the order, lot numbers, quantity and quantity filled. See image below.

The basic grid sorting options are also available. If you are not aware of all functionality with the grids (sorting/exporting/nesting) or interested to learn. Please view this page.